
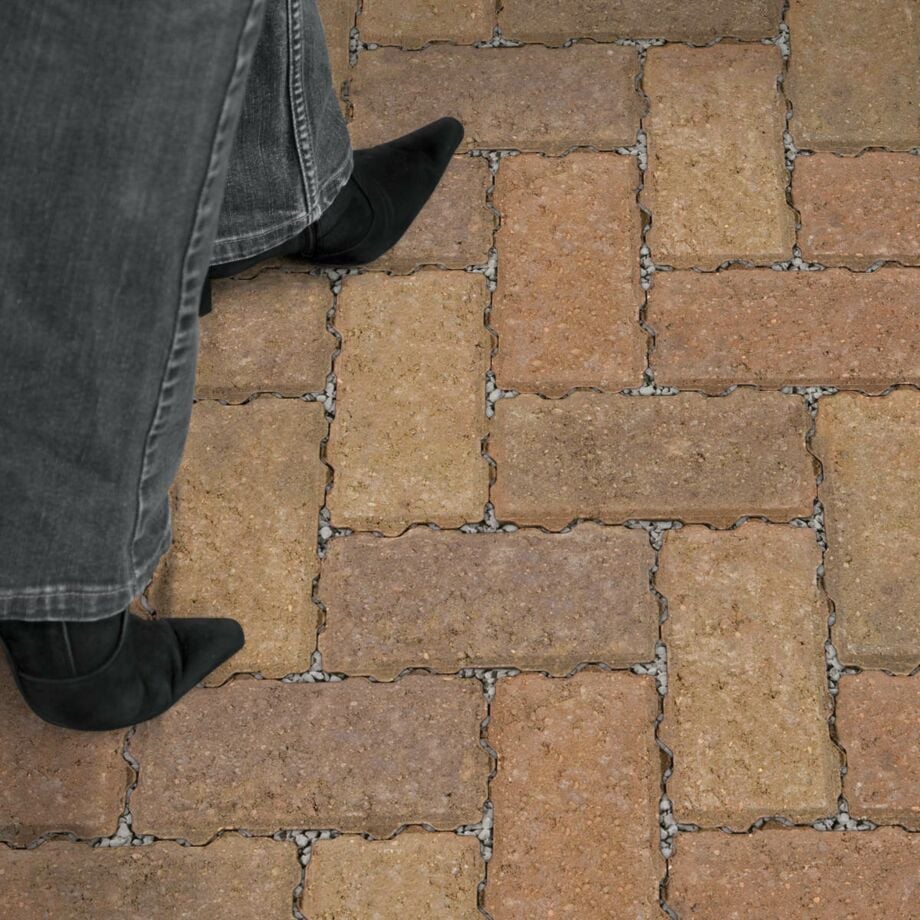
Block paving is a popular type of paving used for driveways, pathways and other outdoor spaces. It is made up of individual blocks or bricks that are laid on sand or grit in a specific pattern and held in place by the adjacent blocks inside a block perimeter set in mortar. Block paving offers a variety of benefits over other types of paving, including durability, versatility, and aesthetic appeal.
One of the most significant advantages of block paving is its durability. The individual blocks are strong and can withstand heavy loads, making it an excellent choice for driveways and high-traffic areas. Additionally, if a block becomes damaged or stained, it can be easily replaced without the need to redo the entire area.
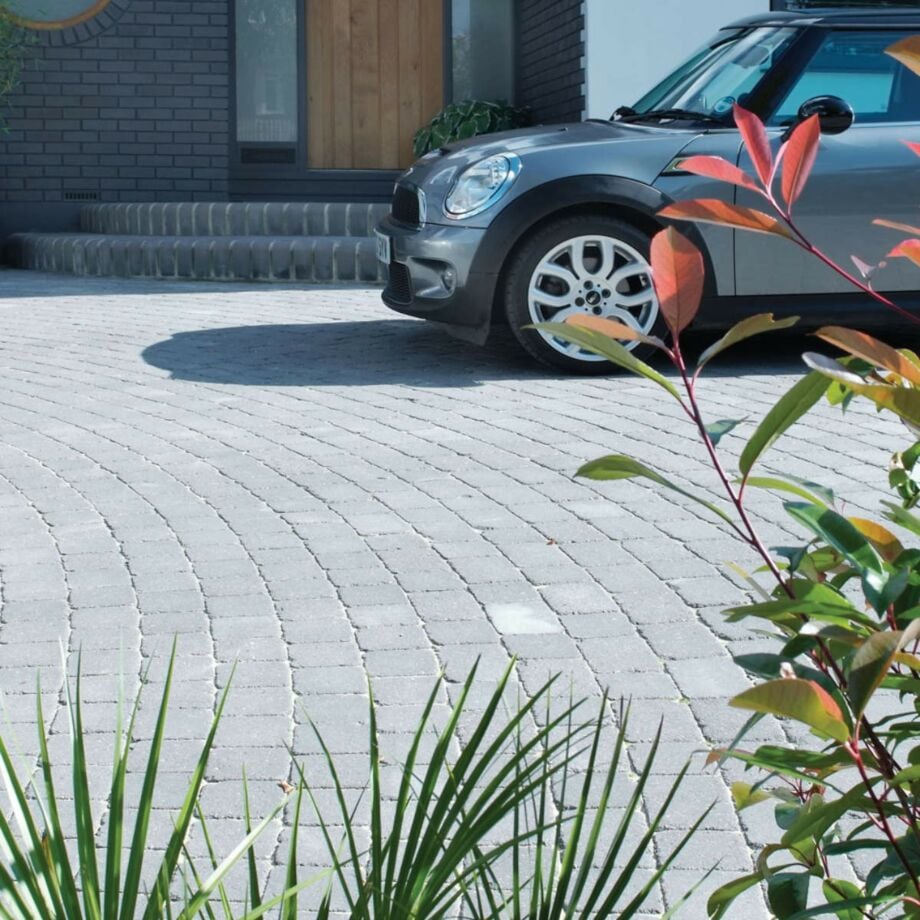
Block paving is also versatile, with a range of colours, patterns, and textures available to choose from. It's also available in both concrete and natural stone options giving a wide choice of options. This makes it easy to find a design that complements the surrounding architecture and landscape. It can also be used to create a variety of decorative patterns, such as herringbone or basket weave.
It's essential to ensure that block paving is installed correctly to ensure its longevity and performance. Proper installation techniques, such as ensuring a solid and level base, using the correct type of sand and mortar, and maintaining proper joint spacing, can prevent shifting, settling, and cracking over time. We'll cover this over the course of this article.
Materials and Tools Needed
Before starting your block paving project, it's important to gather all the necessary materials and tools. Here's a list of what you'll need, along with a brief description of each item and its purpose:
Materials:
- Block Paving Bricks: These are the individual blocks that will make up the paving surface. They come in a variety of sizes, colours, materials and textures, so choose the ones that fit your design preferences.
- MOT Type 1: This is the sub-base used to stabilise the ground and forms the base for you paving. Each tonne bag covers approx. 3.5 sqm
- Sharp Sand or Grit: This is used to create a solid base for the paving bricks. It's important to use a sharp sand as against other types of sand as it will provide better stability. Each tonne bag covers around 11 sqm
- Cement: Cement is used to create a mortar that holds the paving bricks in place around the perimeter.
- Paving Sealer: A sealer is optionally applied to the finished project to protect the paving from water damage and staining.
- Edging Stones: These stones are used to create a border around the paving area and prevent the bricks from shifting over time. They could be the same bricks as the rest of the project or raised kerb style edging.
Tools:
- Shovel or Mini Digger: Used to dig out the area where you'll be laying the paving bricks.
- Spirit Level: Essential for ensuring that the surface is level and flat.
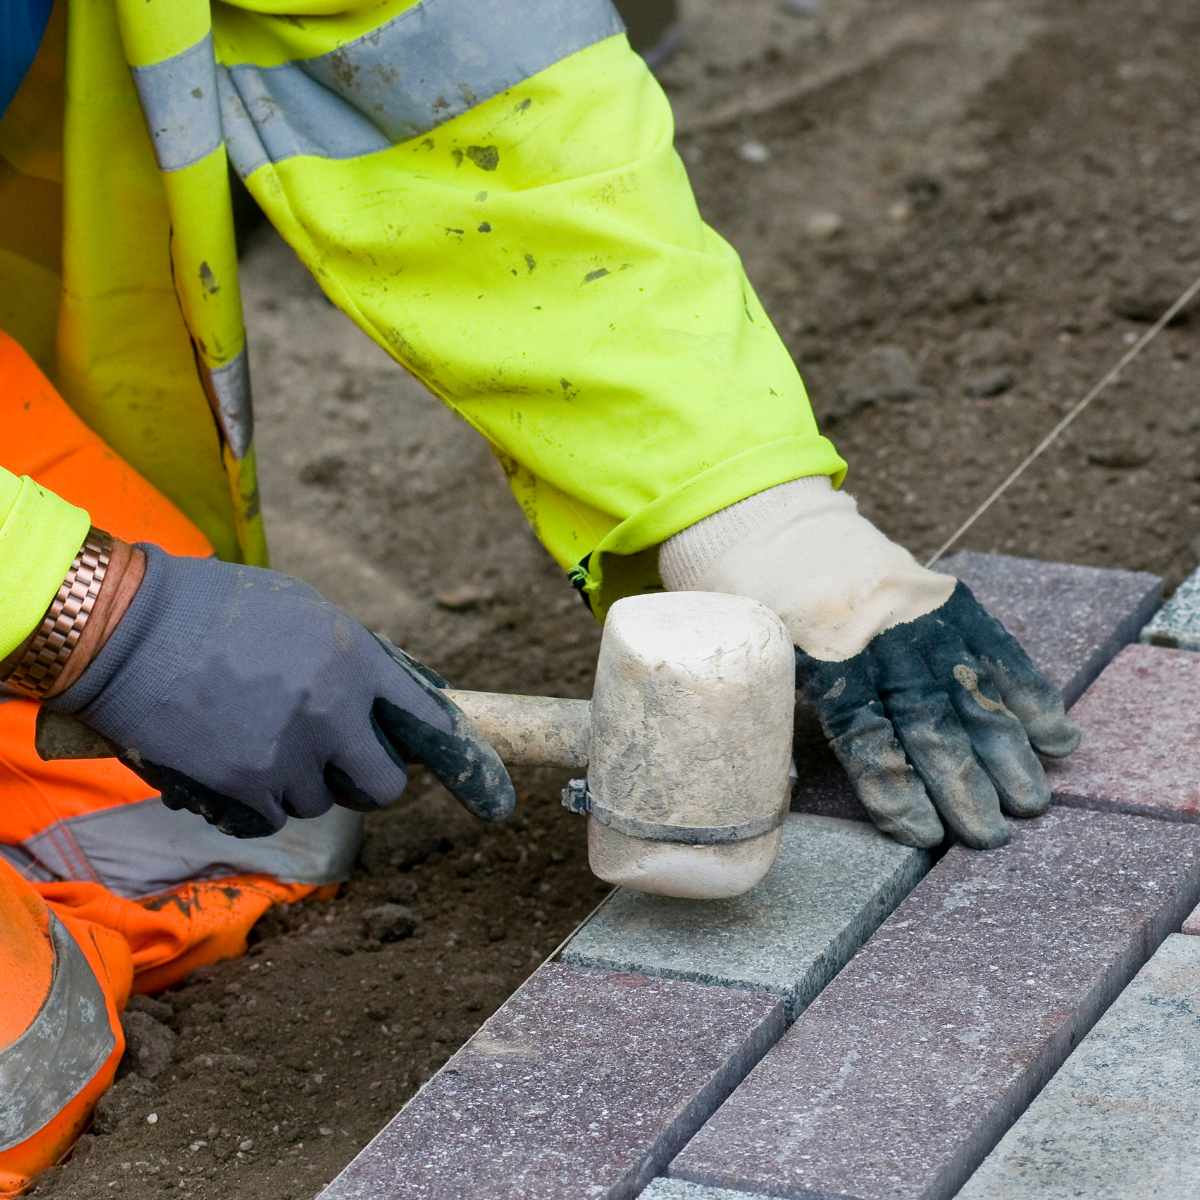
- Rubber Mallet: Used to gently tap the bricks into place.
- Chalk Line: Used to mark out the area and create straight lines for laying the bricks.
- Wheelbarrow: Used to transport sand, cement, and paving bricks to the work area.
- Plate Compactor: Used to compact the MOT Type 1 and sand/ grit and ensure a level base.
- Trowel: Used to spread the cement and create a smooth surface.
- Jointing Tool: Used to create the joints between the edging paving bricks.
Tips for Selecting the Right Materials and Tools
When selecting materials and tools for your block paving project, it's important to choose high-quality items that are suited to the job. Here are some tips to help you make the right choices:
- Choose paving blocks that are specifically designed for your vehicular requirements. 50mm concrete block paving is suited to light domestic, 60mm blocks are for heavy domestic and 80mm blocks are designed for commercial use.
- Ensure your MOT Type 1 base layer is thick enough for driveway use. Skimping on sub-base will cause your driveway to sink in places.
- Make sure you set the edging stones in a mortar bed and haunch the edges to prevent them from moving.
Planning & Preparation
Before starting your block paving project, it's important to take the time to plan and prepare the work area. Here are some key considerations and steps to follow:
Key Considerations Before Starting the Project:
- Drainage: It's important to consider the drainage requirements of the area. If the ground is sloping towards your home or another structure, you'll need to ensure that water drains away from it where possible, to prevent damage, or install drainage channels that take any surface water away to a soakaway on your own property. Similarly, if the area is prone to flooding, you'll need to plan for adequate drainage to prevent standing water.
- Slope: The area you plan to pave should have a slight slope away from your property to ensure water runs off easily. The slope should be at least 1:60, meaning that for every 60cm (2ft) of length, there should be a 1cm (0.4in) drop in height.
- Design: Plan the design of your block paving area before starting the project. Consider factors such as the size, shape, and colour of the blocks. You may also want to incorporate decorative patterns, such as herringbone or basket weave. Concrete block paving has small nibs on the outer edges of the blocks enabling them to be located in the correct position next to the adjacent block. When using natural stone block paving, this does not have the nibs and will also have more tolerance on dimensions that manufactured concrete blocks, which means that more adjustments will be required when laying them and it may take more time and effort to install.
- Measurements: When caluclating your measurements for the job, unless you project is a perfect square or rectangular area, you will need to divide it into smaller square or rectangular sections to be able to obtain the length x width measurements for each. By multiplying the length x width will give you the square metre area of each section. Add each section together and then add on at least 10% extra for cuts or breakages when laying.
When Should I Use Permeable Block Paving?
|
A special type of block paving known as 'permeable' block paving is an ideal choice for areas where it is not possible for surface rainwater to be drained into your own soakaway. The porous nature of the blocks with their toothed perimeter enabling water to run through the gaps in addition to a combination of different sizes of aggregate used as the substrate layer allows water to drain away quickly, reducing the risk of surface water escaping to the nearest road or sewer system. The sub-base acts as a storage reservoir for the water, allowing it to gradually filter into the soil below. This helps to prevent flooding and reduces the amount of surface water escaping your property. The use of permeable block paving is often a requirement in areas where Sustainable Drainage Systems (SUDS) are necessary. SUDS are a set of practices that aim to manage surface water runoff in a sustainable way. The use of permeable block paving is just one component of a SUDS system. Alternative options to permeable block paving include traditional impermeable paving such as block paving in combination with additional drainage systems such as French drains or soakaways and it is imperative that the water is retained within your own property. However, these options may not be suitable for areas where SUDS are required. In such cases, permeable block paving is often the best option for achieving sustainable drainage and reducing the risk of flooding. If in any doubt, speak to your local planning officer for guidance or refer to the government guidance on the permeable surfacing of front gardens. |
 |
Proper Handling and Storage of Materials:
It's important to handle and store materials correctly to ensure that they remain in good condition and perform as expected. Here are some tips for handling and storing the materials for your block paving project:
- Store the paving blocks in a dry area to prevent moisture damage. Avoid stacking them too high, as this can cause them to become unstable.
- Keep the cement dry and store it in a cool, dry area.
- Use gloves and eye protection when handling cement, as it can be caustic and irritate the skin and eyes.
- Handle the sharp sand or grit with care, as it can be abrasive to the skin and eyes.
- Wear gloves and eye protection and avoid inhaling the dust when mixing up mortar.
Base Preparation
The base preparation is a crucial step in laying block paving as it provides a stable and level foundation for the paving. A good base will ensure that the paving remains level and does not sink or shift over time. How many times have you seen a neighbouring proerty with sunken sections of driveway? This is where shortcuts have been taken with the sub-base materials. The following are the key steps to prepare and lay the base for block paving:
|
 |
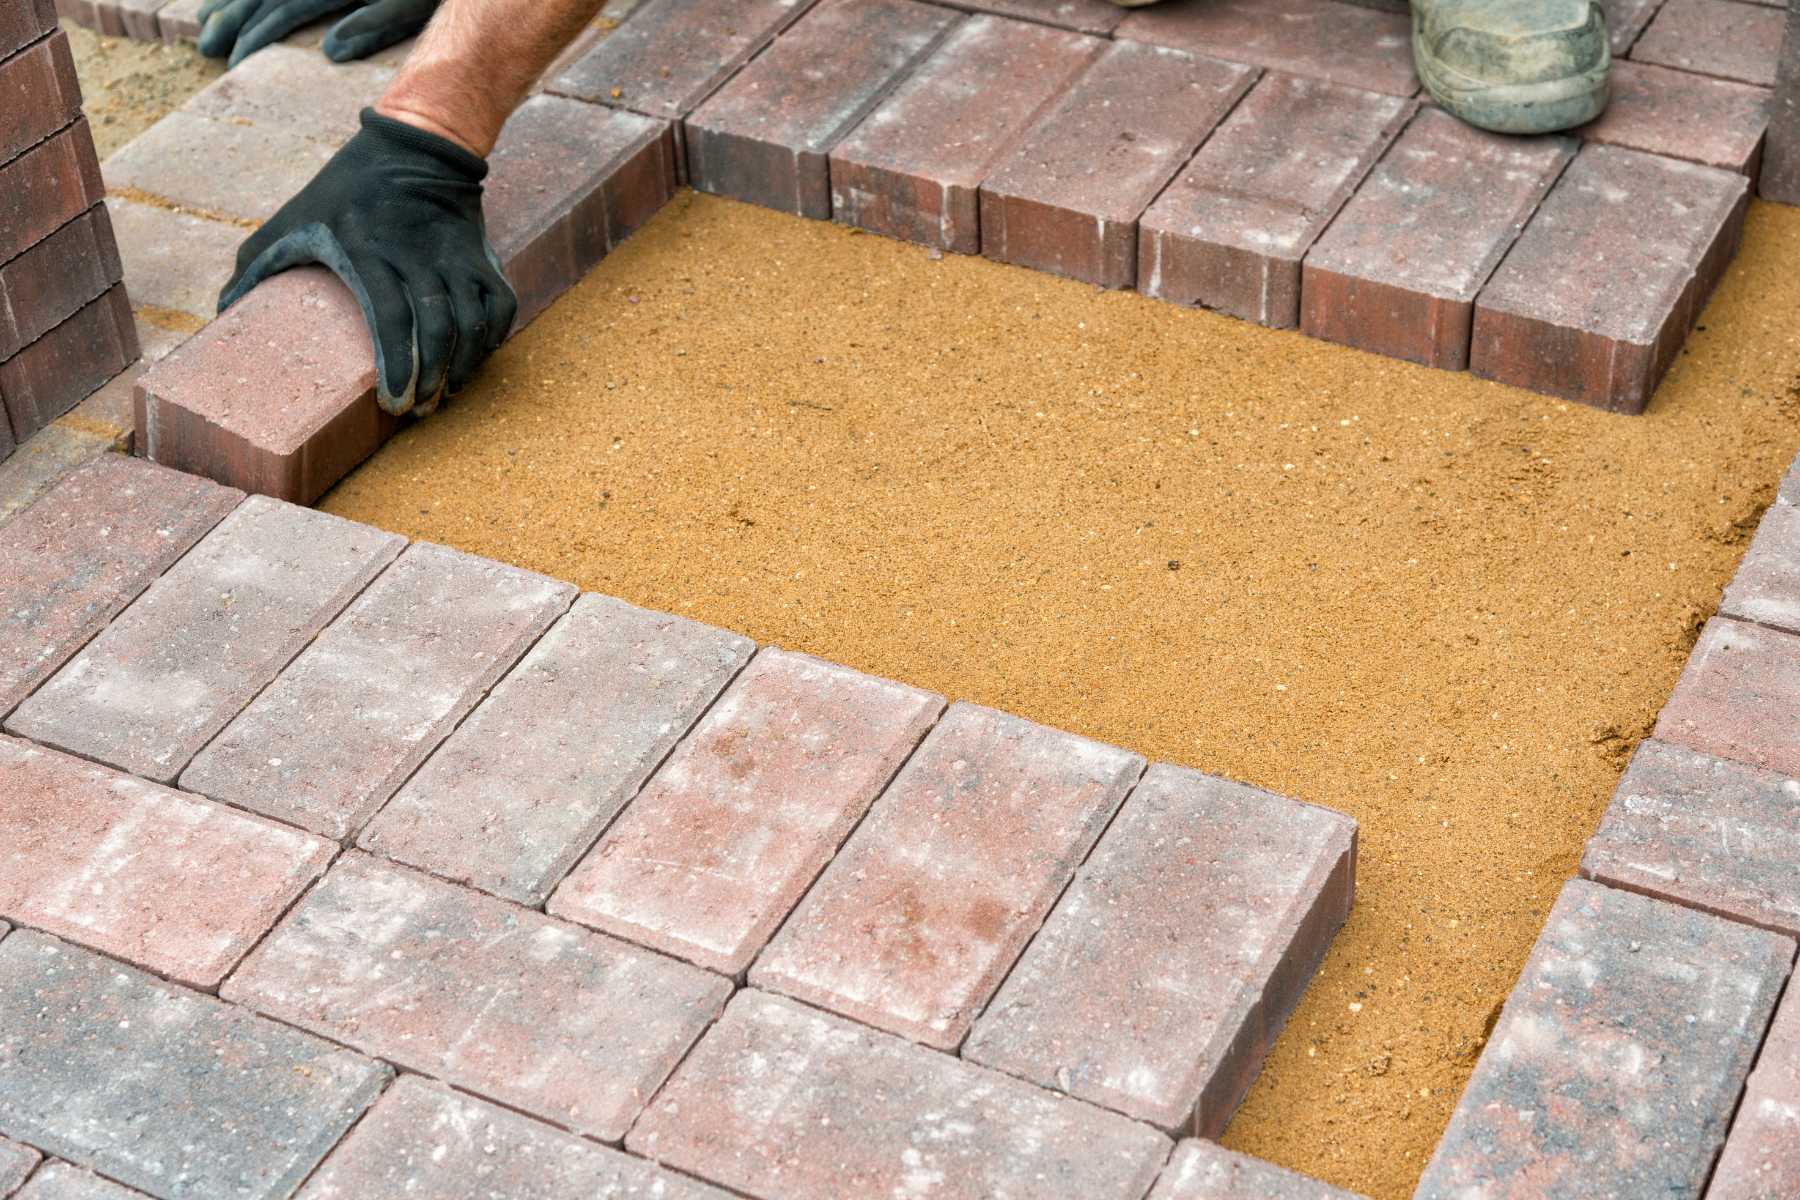
Laying the Blocks
Laying the blocks is the most important step in the process of block paving. A well-laid surface will look great, be durable and require minimal maintenance. Here are the key steps to follow when laying the blocks:
 |
|
Maintenance and Troubleshooting
Maintenance and troubleshooting are important aspects of block paving, as they ensure that the surface remains safe, attractive, and functional over time. Here are some tips for maintaining and repairing block paving:
-
Regular cleaning: Regularly sweep or pressure wash your block paving to remove dirt, debris, and stains. This will help to prevent the growth of moss, algae, and weeds. Take care when pressure washing as this will often remove the kiln dried sand and once dry, it may be necessary to reapply this. An alternative option is to use a sand stabiliser as this penetrates and binds the sand between the blocks making it more resistant to washing out when undertaking domestic cleaning.
-
Sealing: Consider sealing your block paving to protect it from the effects of weathering, staining, and fading. Sealing also often helps to prevent the growth of algae.
-
Repairing cracks: If you notice cracks in your block paving, lift and replace the damaged blocks. If the area has sunken, this may be the cause of the broken block/s and it may be necessary to address the cause as well by adding more sub-base and sharp sand to raise the area to the correct level.
-
Removing stains: If your block paving becomes stained, use a specialised cleaner to remove the stain without damaging the surface. We also have a blog that explains how to deal with common paving stains.
-
Avoiding heavy loads: Avoid driving or parking heavy vehicles on your block paving, as this can cause it to crack or sink. The blocks you have chosen and the installation technique followed will most likley be for a domestic driveway and therefore this is not suitable for HGVs!
-
Common issues: Common issues with block paving include sinking, cracking, and weed growth. These can be caused by poor installation or inadequate base preparation. Weed growth may always occur as weed seeds will set in the sand between the paving and should be treated with a glyphosate based weed treatment. An alternative option is to use a sand stabiliser as this penetrates and binds the sand between the blocks making it more resistant to weed growth.
Conclusion
In conclusion, block paving is a great option for creating durable, attractive outdoor surfaces. Block paving offers many benefits over other types of paving, including ease of installation, low maintenance, and long-lasting durability.
To ensure a successful block paving project, it is important to plan and prepare the work area properly, use the right materials and tools, and follow proper installation techniques. A suitable base, consistent spacing and alignment, and proper compaction are essential for a long-lasting and stable surface.
Regular maintenance and prompt repairs are also important for the longevity and safety of your block paving surface. By following the tips outlined in this article, you can ensure that your block paving remains in top condition for many years to come.
We welcome your feedback and with you luck with your project!
