
A garden wall is not only a functional addition to your outdoor space but also a beautiful way to enhance its aesthetics. Whether you want to create a boundary, add privacy, or simply add character to your garden, building a garden wall can be a rewarding DIY project. In this guide, we will walk you through the step-by-step process of building a garden wall, from planning and preparing the site to laying the foundation and constructing the wall. With the right tools, materials, and a bit of patience, you'll soon have a stunning garden wall to be proud of. Let our guide help you!
1.Planning & Preparation
Before you start building your garden wall, proper planning and preparation are crucial to ensure a successful project. Here are the key steps to follow:
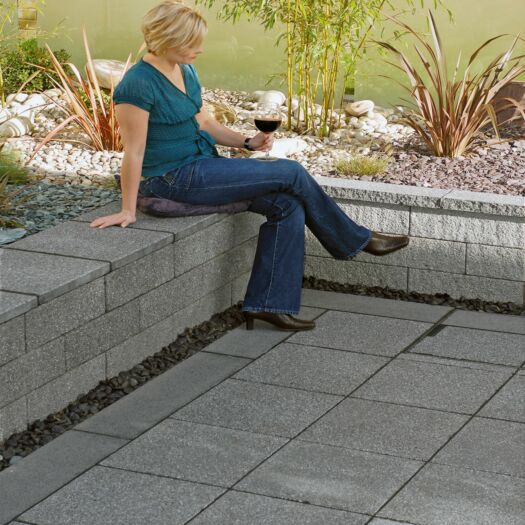
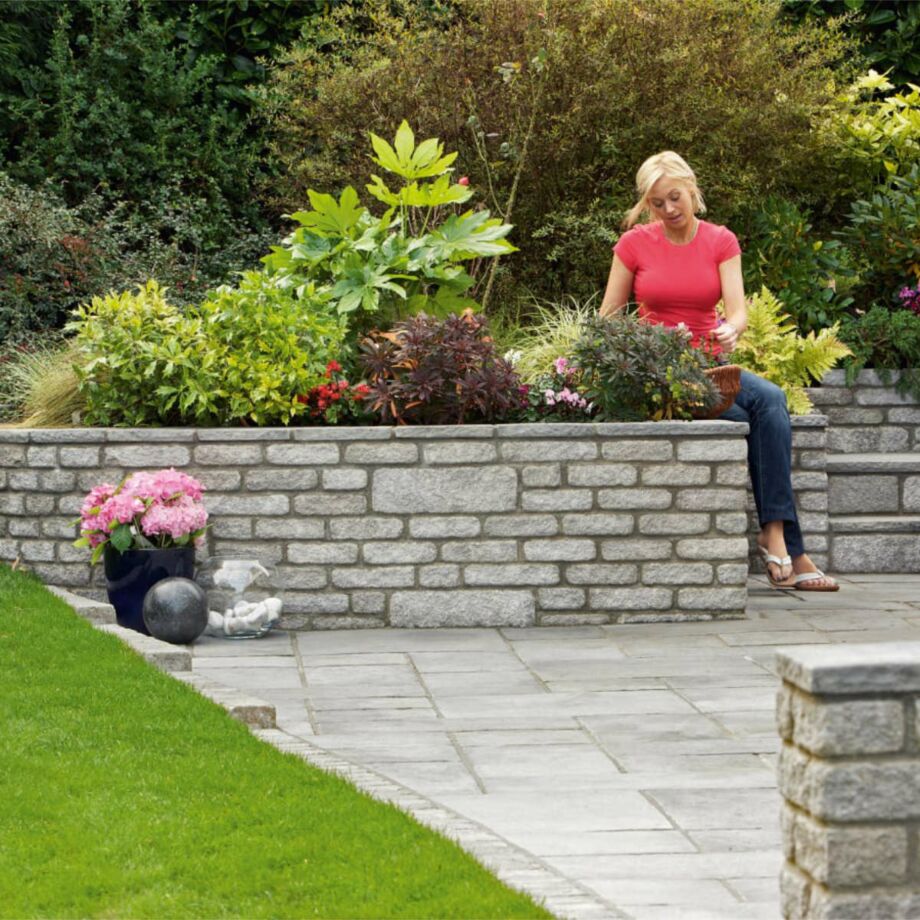
a. Define the Purpose: Determine the purpose of your garden wall. Are you looking to create a boundary, provide privacy, create a raised planting bed or is your planned wall purely for decorative purposes? This will help you determine the height, length, and style of the wall.
b. Check Local Regulations: If you have a listed property, are in a conservation area or are planning to build your wall near to a tree with a preservation order, take care! You may need to obtain permission from your local planning office.
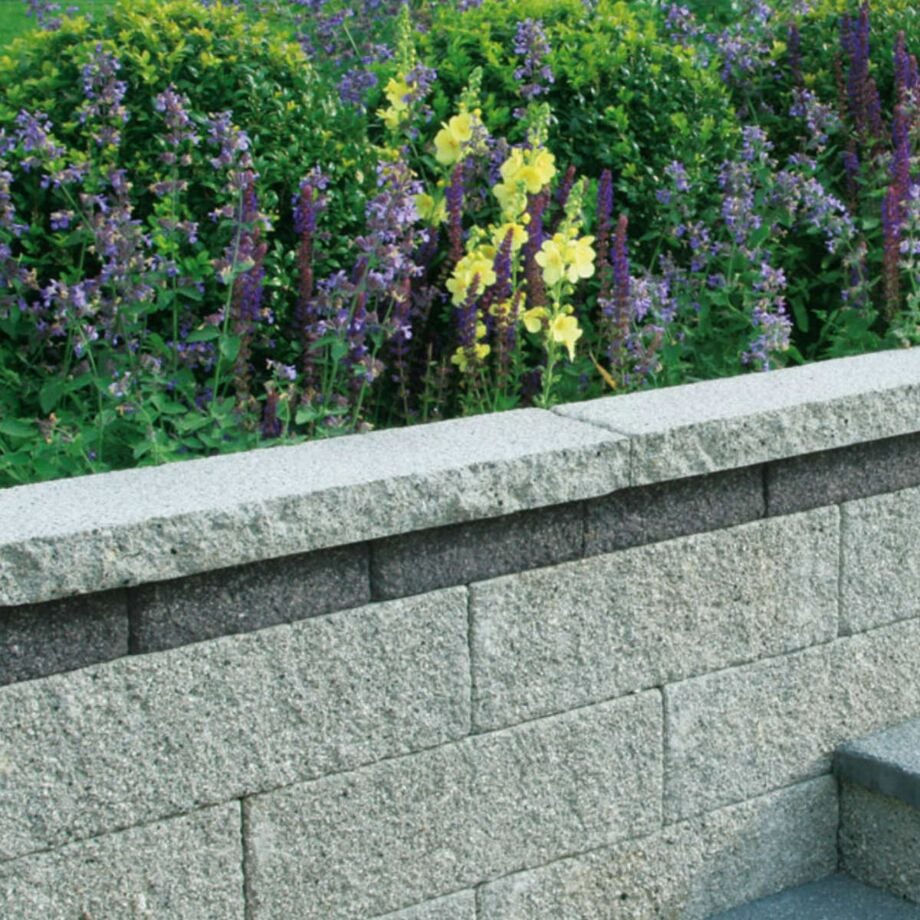
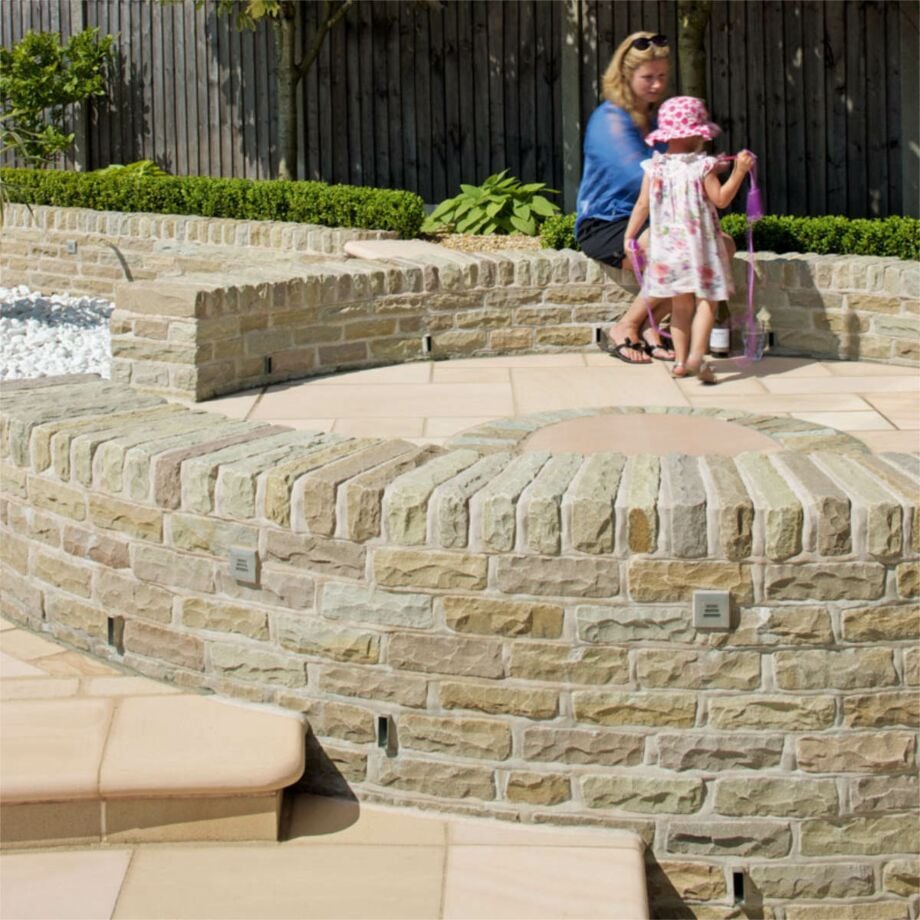
c. Choose the Materials: Select the appropriate materials for your garden wall. Common choices include bricks made from natural stone or concrete, or for a simpler design timber sleepers are often a good alternative option. Consider the desired look, durability, and cost when making your selection.
d. Sketch a Design: Create a rough sketch or use design software to visualise your garden wall. This will help you estimate the quantity of materials needed.
e. Determine the Location: Mark the location of your wall using stakes and string. Ensure it aligns with your property boundaries and complements your overall garden layout.
|
|
|
|
|
|

2.Laying the Foundation
The foundation of your garden wall provides stability and support. Follow these steps to lay a strong foundation:
a. Excavation: Dig a trench along the marked line for the wall foundation. The depth and width of the trench should be proportional to the height and thickness of the wall. Typically, a depth of 1/3 of the wall's height is recommended.
b. Level the Trench: Use a spirit level and a string line to ensure the trench is level throughout its length. This step is essential for maintaining a straight and stable wall.
c. Add a Layer of MOT Type 1: Fill the trench with a layer of MOT Type 1 and compact it with a tamper to create a solid base. As a guide, aim for a compacted layer of around 100-150mm.
d. Lay the Concrete Footings: Mix concrete according to the following instructions and pour it into the trench to create the footings. Smooth the surface with a trowel and ensure it is level.
e. Allow Time for Curing: Give the concrete footings sufficient time to cure - usually around 48 hours as a minimum.
|
|
So How Do I Calculate Quantities Required?To work out the volume of concrete required for an area and determine the amount of sand, cement, and aggregate needed, follow these steps:
How Do I Make Concrete?
It is worth noting that larger projects may require the use of mechanical mixers for efficient and consistent mixing. If using a mechanical mixer, follow the manufacturer's instructions for proper operation. Remember to work efficiently as concrete begins to set after a certain period of time. Once the concrete is mixed, promptly proceed to pouring it into the prepared footings. Note: The specific proportions and mixing methods may vary based on the project requirements and the type of concrete desired. It is recommended to consult with a professional or refer to construction guidelines for more specific instructions tailored to your project. Remember to always follow safety precautions when working with concrete, such as wearing protective gear, including gloves and goggles. |
|
3.Build the Wall
Now that the foundation is ready, it's time to start constructing your garden wall. Follow these steps for a sturdy and visually pleasing wall:
|
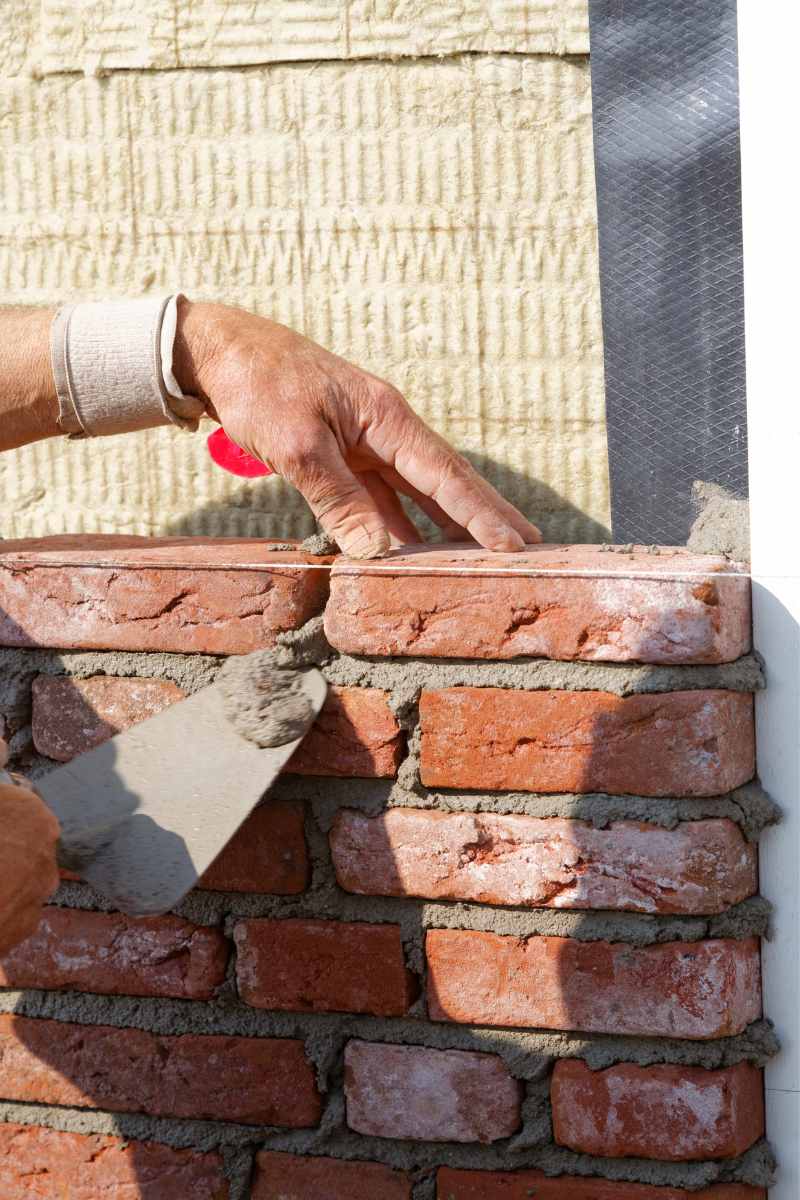
a. Arrange the First Course: Lay a bed of mortar along the footings, slightly wider than the width of your wall material. Place the first course of bricks or stones on the mortar, pressing them down gently. Use a spirit level to ensure they are level and align them properly. b. Continue Building the Wall: Apply mortar to the top surface of each brick or stone and place the subsequent courses, staggering the joints for added strength. Use a trowel to remove excess mortar and maintain a neat appearance. When using bricks or concrete walling blocks, these are manufactured to have very little dimensional tolerances whereas natural stone walling bricks will be more varied. Adjustments should be made in the mortar layer accommodate any variations in brick dimensions ensuring that the rows can remain even. c. Incorporate Bonding or Tie Blocks: Depending on the height and structure of the wall, it may require bonding or wall ties at regular intervals. These blocks add strength and stability by connecting the inner and outer faces. Generally, single skin walls are suitable for lower heights, while double skin walls are preferred for taller structures. Although specific recommendations may vary, a commonly accepted threshold for transitioning from a single skin to a double skin wall is around 1.8 to 2.4 meters (6 to 8 feet) in height. By incorporating a double skin construction, which involves two parallel walls with an air gap between them, you can enhance the strength, stability, and insulation properties of the wall. Most garden walls are lower than 1.8m and if a wall is exposed to open winds or next to areas where children may play, it is advisable to use a double skinned wall or enlist the help of a professional. d. Finish with Coping: Finishing the top of your wall with coping stones gives a tidy and professional finish. There are many coping stones options available although it's often possible to finish the top of your wall using paving slabs to match your patio. |
 |
4.Fill in the Gaps
It is important to fill in any gaps there might be in the mortar. Allow the mortar to set slightly, but not too much. You should check it every hour as different mortar will set at different rates. When it is firm to the touch, clean the joints using a brick jointer to get a v shaped profile. Alternatively, you could use a pointing trowel in order to help the wall shed water.
5.Conclusion
Building a garden wall is a rewarding project that can transform the aesthetics and functionality of your outdoor space. By following the step-by-step guide outlined in this article, you can successfully plan, prepare, and construct a beautiful garden wall. Remember to start with careful planning, select the right materials, and lay a solid foundation. Take your time during the construction process, ensuring proper alignment, levelling, and use of mortar. Whether you're creating a boundary, adding privacy, or enhancing the character of your garden, building a garden wall will not only provide structural integrity but also serve as a stunning feature that you can enjoy for years to come. So grab your tools, unleash your creativity, and embark on this satisfying journey to build a garden wall that will truly elevate your outdoor space.
