
A properly installed paving drainage system is crucial for maintaining the longevity and functionality of your outdoor spaces. By effectively managing water runoff, you can prevent water damage and potential structural issues. In this step-by-step guide, we will walk you through the process of fitting a paving drainage system, ensuring a safe and efficient solution for your property. From planning and preparation to installation and maintenance, we'll cover everything you need to know to get the job done right.
Step 1: Assessing the Area:
Before diving into the installation process, take some time to assess the area where you plan to install the paving drainage system. Consider factors such as the slope of the land, proximity to existing structures, and the expected volume of water runoff. In many cases a drainage channel may not be required if your patio or driveway can be laid with the paving sloping towards an area that can handle surplus water run off, such as a planting border. However it is imperative, that any surplus water, especially in the case of a sudden deluge, does not enter public highways from your front garden as this is a legal requirement. If you decide that a drainage channel is required for your paving project, this assessment will help you determine the appropriate type and size of drainage system required for your project.
Step 2: Gather the Necessary Tools and Materials:
|
To begin the installation, gather all the tools and materials you'll need. Here is a list of commonly used items:
|
 |
Step 3: Plan the Drainage System:
Using the information gathered in the assessment phase, create a detailed plan for your drainage system. Determine the placement of the channel drains, ensuring they are strategically located to capture water runoff effectively. Plan the flow path of the pipes, ensuring they lead away from structures and toward a suitable drainage outlet, such as a soakaway or a designated area for water dispersion.
 |
 |
 |
Step 4: Excavation and Preparation:
Start by marking the area where the channel drains will be installed using a string and markers. Excavate the marked area to the required depth, typically around 200-250 millimetres, ensuring a slight slope away from the structures. Clear any debris or vegetation from the trench.
Once the trench is ready, lay a permeable membrane at the bottom to prevent soil and debris from entering the drainage system. This will help maintain its efficiency over time.
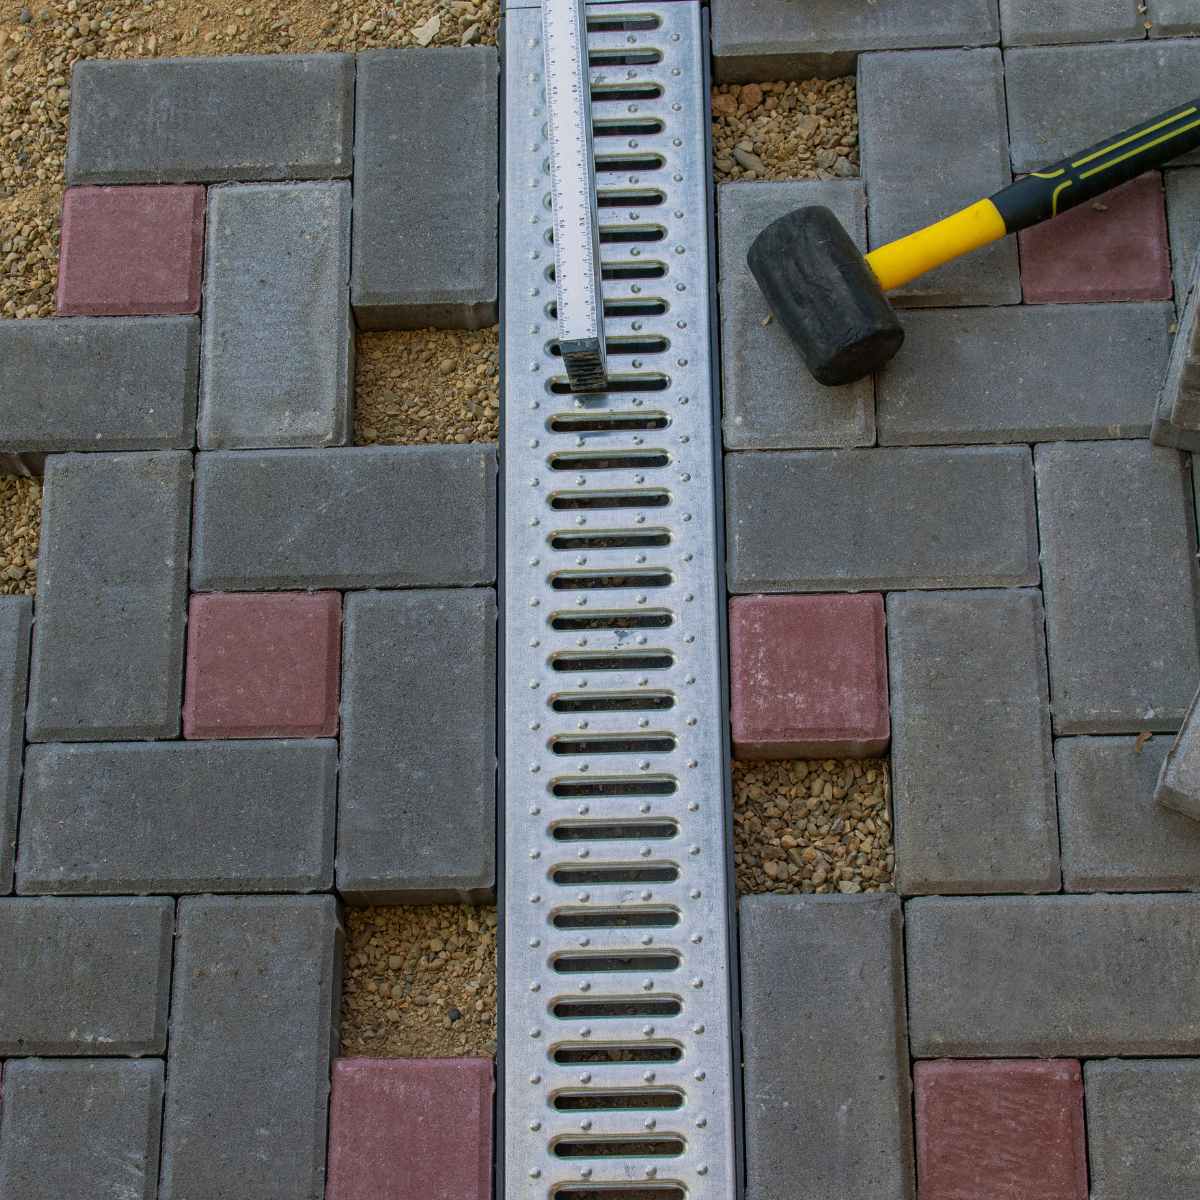
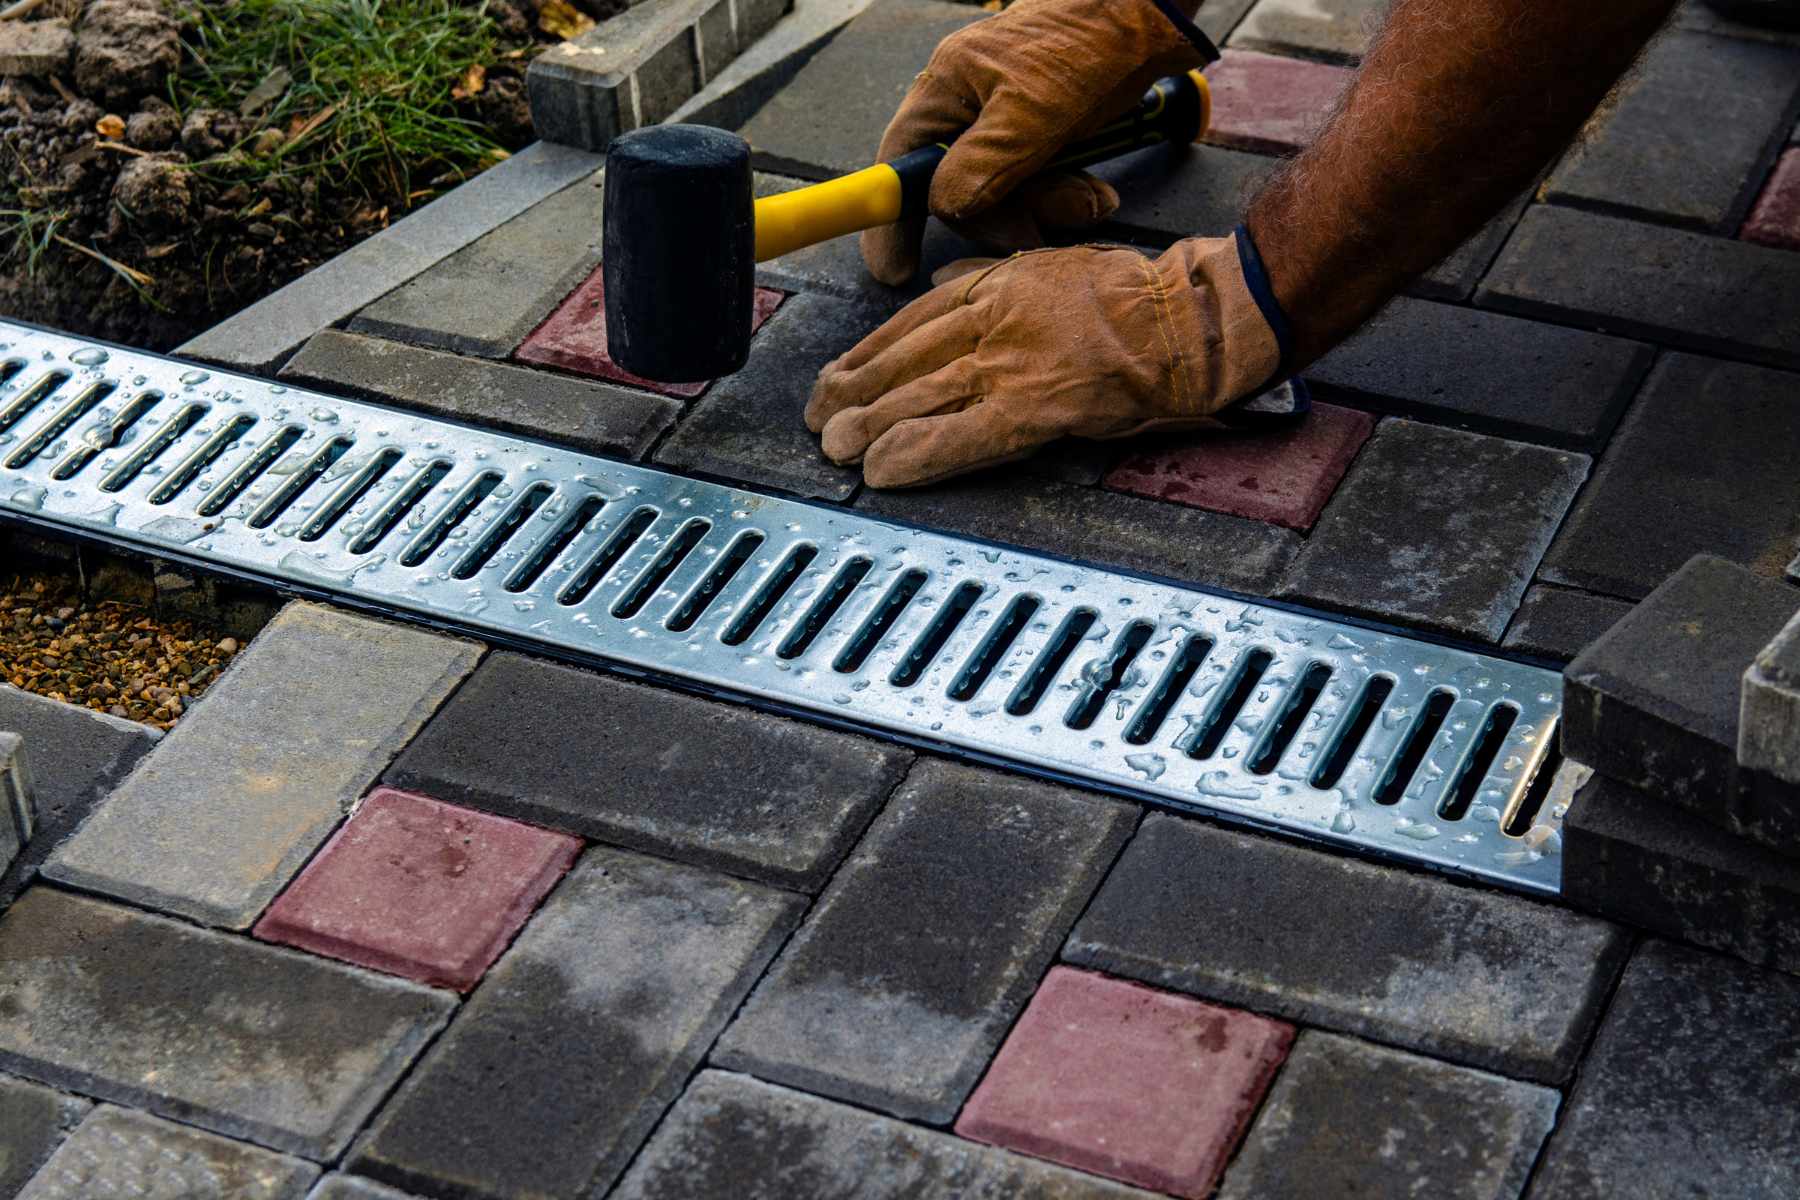
Step 5: Installing the Channel Drains:
Carefully follow the manufacturer's instructions for installing the channel drains. Generally, the process involves placing the drain units into the trench, ensuring they align with each other and the desired slope. Use a spirit level to check the alignment and adjust if necessary. Using the trench would be constructed within the sub-base of your paving.
Connect the channel drain units using the appropriate connectors as needed, creating a continuous drainage path. Secure the drain units in place by backfilling with concrete or a suitable aggregate material to maintain stability.
Step 6: Lay the Pipe Network:
Connect the outlet of each channel drain to a network of pipes that will carry the collected water away from the area. Use pipe connectors to join the sections, ensuring a watertight connection. To maintain an effective flow, ensure a gradual downward slope along the length of the pipes, aiming for a minimum slope of 25mm over 2.4m
Direct the pipes towards the desired outlet.
Step 7: Connect to a Drainage Outlet:
At the end of the pipe network, connect the drainage system to a suitable outlet, such as a soakaway or a designated water dispersion area. Ensure a secure and watertight connection to prevent leaks or water backup.
Step 8: Test the System:
Before finalising the installation, it's important to test the effectiveness of the drainage system. Slowly pour water into the channel drains or use a hose to simulate rainfall. Observe the flow of water through the drains and pipes, ensuring there are no blockages or water pooling in any area. Make any necessary adjustments or corrections if issues are identified during the testing phase.
Step 9: Backfill and Finish:
Once the system has been tested and approved, backfill the trench with the concrete to ensure all channels are securely in place, especially where the channel will encounter vehicle weight. Add your paving around the drainage channel.
Step 10: Maintenance:
Regular maintenance is essential to keep your paving drainage system functioning optimally. Clean the channel drains periodically to remove debris or sediment buildup. Inspect the pipes for any signs of damage, such as cracks or clogs, and address them promptly. Additionally, ensure that the outlet remains clear of obstructions to allow proper water flow.
Conclusion:
Installing a paving drainage system is a worthwhile investment to protect your property from water damage and maintain a safe and functional outdoor space. By following this step-by-step guide, you can ensure an effective and efficient installation process. Remember to assess the area, plan the system, gather the necessary tools and materials, and carefully execute each step, from excavation to testing and maintenance. With a well-fitted drainage system, you can enjoy peace of mind knowing that your outdoor areas are protected from the negative effects of water accumulation.
Permeable Paving
If you decide that you don’t want to fit a new paving drainage system, then you can opt for permeable block paving instead. This is going to give you a choice of designs and colours that you can choose from to create your driveway. This is usually the preferred option if you are renovating your outdoor space and starting from scratch. The best thing about this paving is that it can help control rain water, as it can help to soak it up after a shower. This means that there is usually no need for a drainage system as it does it all for you.
For example, the Brett Paving Manmande Omega Flow Permeable Brindle Block Paving has become a popular choice for those that are looking to create a practical and attractive driveway. This brindle block paving enjoys having red and charcoal grey shades running through it that will suit modern and traditional style homes. It is going to help with drainage during bad weather and it even meets the recent planning legislation regarding front of property drainage. So, what are you waiting for?
For contemporary style homes, check out the Brett Paving Manmade Omega Flow Permeable Charcoal Block Paving. This is going to create the classic clean lines that everyone loves in their driveaway, as well as help it stay clean when there is bad weather. It can help drain away rain water and the charcoal model is available in dark grey contemporary shades that will help your driveway standout from the crowd. In fact, all of your neighbours will be envious!
Another popular choice when it comes to permeable paving has got to be the Stonemarket Paving Manmade Permeapave Burnt Ochre Block Paving. This Stonemarket paving is going to be perfect for a practical driveway since it is made from a material that allows rainfall to pass directly into the subbase and then drain away naturally, rather than having a drainage system. This burnt ochre block paving is going to save you a lot of hassle and hand work in the long term. The Burnt Ochre model boasts lovely copper and charcoal colours, which means this block paving will suit contemporary and traditional style homes.
So, it is up to you whether you want to fit a paving drainage system or opt for the permeable paving. A lot of your decision will depend on the upheaval in your outdoor space, as well as your budget and time that you can put into the project.
