Laying paving slabs can be a rewarding DIY project for many homeowners and is a great way to add functionality and beauty to your outdoor space. Paving slabs can be used to create pathways, patios, and even driveways. The process of laying paving slabs can be challenging, but with the right tools, materials, and techniques, it can be a gratifying project for any homeowner. Here are some key considerations to keep in mind when deciding whether to lay paving slabs as a DIY job:
- Size of the project: The size of the project is a crucial factor when determining whether to undertake paving as a DIY job. Smaller projects, such as laying a small patio or a garden path, may be suitable for a DIY job. However, larger projects, such as a driveway or a large patio, may require professional help. This is because larger projects can be more complex, require more specialised tools and materials, and may take longer to complete. There may also be other technical factors such as level changes or drainage requirements to consider making the project more complicated.
- Experience: Another important factor to consider is your experience with DIY projects. If you have little or no experience with paving, it may be wise to start with a smaller project or to seek professional help. Laying paving slabs requires a certain level of skill and attention to detail, and mistakes can be costly. If you are unsure of your abilities, it may be best to hire a professional.
- Tools and equipment: To lay paving slabs, you will need certain tools and equipment, such as a spirit level, a rubber mallet, a shovel or spade, a measuring tape, and a tamper plus larger pieces of equipment such as a mini digger, wacka plate, petrol disc cutter and a cement mixer. If you do not already have these tools, you will need to purchase or rent them. Consider the cost of tools and equipment when deciding whether to undertake the project yourself and also ensure you follow safety instructions, especially when using cutting tools. Also, make sure you wear the appropriate PPE.
- Time: Laying paving slabs can be a time-consuming project, especially for larger areas. You will need to set aside enough time to complete the project, including preparation, laying the slabs, and filling the gaps. If you have other commitments or a tight schedule, it may be best to hire a professional.
- Physical ability: Laying paving slabs can be physically demanding work, especially when digging and leveling the base layer. If you have any health issues or physical limitations, it may be best to hire a professional to do the work.
- Permits and regulations: Depending on the scope of your project some projects may require you to obtain planning permission prior to starting work. As a general rule, if you are using non permeable block paving on a driveway, you must ensure any surface water runs away within the boundaries of your property or alternatively, apply for planning permission. Similarly, if you live in a conservation area, you may need permission. Check with your local authorities before undertaking any paving work if unsure, to ensure that you are following the necessary regulations.
If you are still keen to undertake the paving project yourself and just need to know how to proceed, read on for our step-by-step guide on how to lay paving slabs:
Step 1: Plan your Project
The first step in laying paving slabs is to plan your project. Decide on the area where you want to lay the slabs and measure it to determine the number of paving slabs you need. Always add on at least 10% more than your measurements to allow for cuts as you will not be able to use every offcut. Furthermore, allow spares for breakages, as even when you're careful, it's always possible for a few slabs to break when laying. In many cases these can be used for smaller areas, but it's still good practice to build in spares.
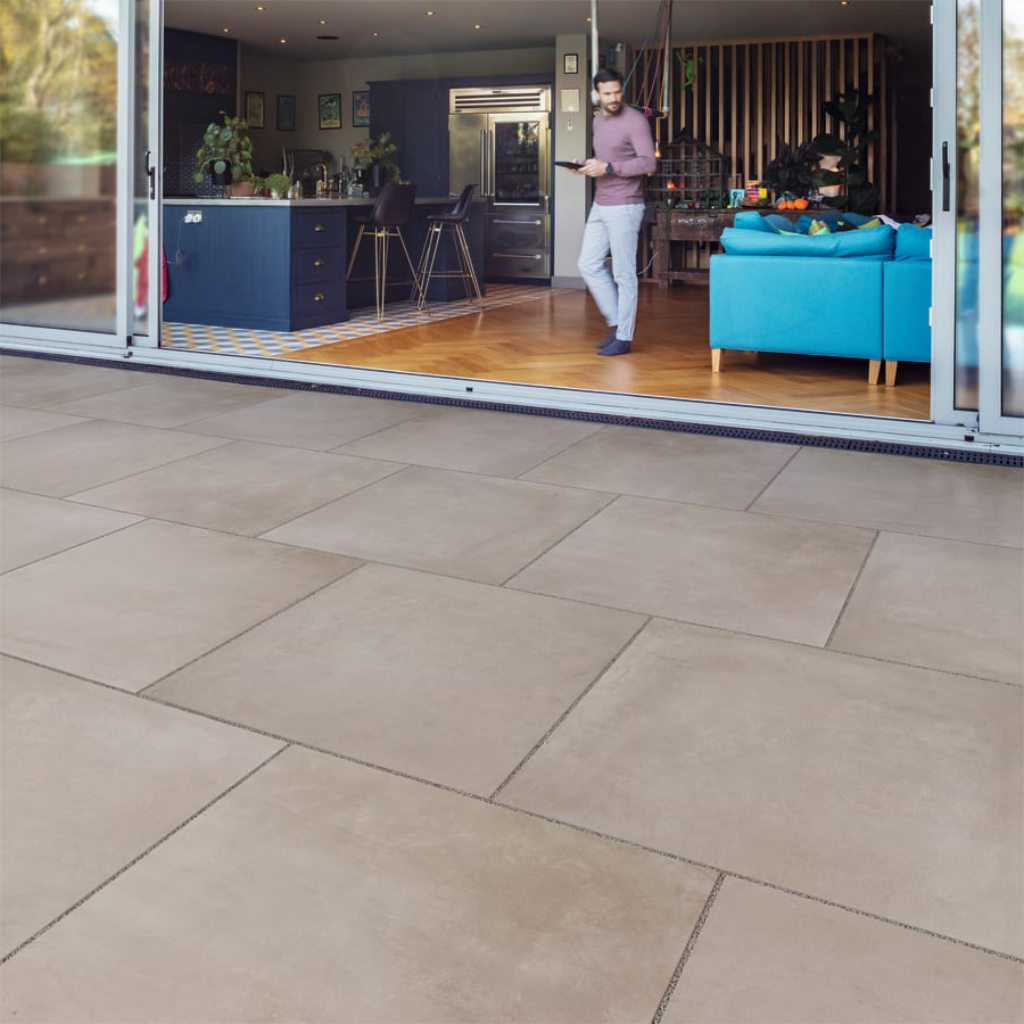
When planning, consider the purpose of the space and the type of traffic it will receive. This will help you choose the appropriate type of paving you need for your project and whether you need to think about the thickness of the slabs as well. For example, driveway paving is always thicker than patio paving. Think about the colour and size of the paving slabs you would like as there are many choices available. Decide if you would like natural stone, concrete or porcelain paving as the tools required and laying techniques will often be different according to the material used.
Step 2: Gather your Tools and Materials
To lay paving slabs, you will need a few basic tools and materials. These include:
|
 |
Additionally, there are other tools that will make the project easier, especially if it's a larger area and it may be worth hiring these in. This includes a mini-digger for digging out the area to be paved, a wacka plate for firming the base, a cement mixer for making up the bedding mix and a petrol disc cutter for cutting paving slabs to size. If you are cutting natural stone or concrete paving, you will need a diamond blade and if you are cutting porcelain, you will need to use a specific porcelain blade along with a cutting saw that has a water feed. You may also need a skip to dispose of the soil or waste material removed when you dig out the ground.
Step 3: Prepare the area
Once you have gathered your tools and materials, it's time to prepare the area where you will be laying the paving slabs. Preparation of the foundations for your paving is one of the most important parts of the project. Start by measuring out your area to be paved and mark out the perimeter with wooden pegs. Remove any grass, weeds, or debris from the area. Next, dig a trench that is at least 175mm deep (depending upon the thickness of your paving slabs) and slightly wider than the width of your paving slabs. Use your spirit level to create a gradient running away from your home to ensure surface water runs away. A 1 in 80 fall is usual best practice. Even the ground using a rake and then compact the area with a garden roller or wacka plate to leave a smooth finish.
Step 4: Add a Base Layer
The next step is to add a base layer of MOT Type 1 to the bottom of the trench. Add at a depth of 150mm, rake into place and then compact down using the garden roller or wacka plate to a depth of 100mm. The sub-base is one of the most important parts of your project as it forms a stable foundation for the paving slabs. Check the levels of the base layer using a spirit level and look out for any uneven areas. If you find any low spots, add more MOT Type 1 to even them out. Once the base layer is level, you are ready to start installing your paving.
 |
 |
 |
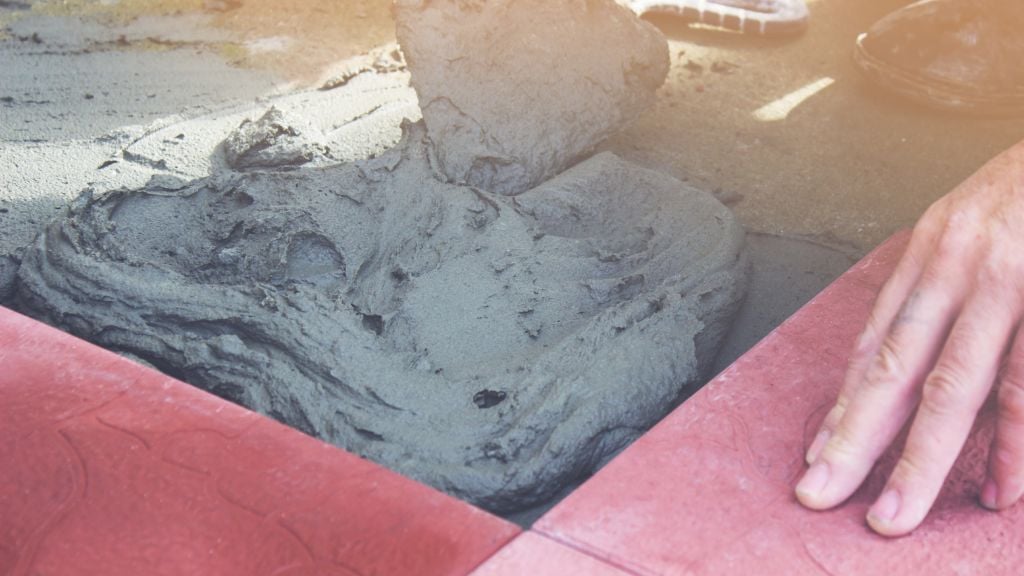
Step 5: Prepare your Mortar
Now it's time to lay the paving slabs. Get a feel for how wide to leave your jointing gap between the slabs by dry laying a few beforehand. Then start by putting your string line in place at the start and finish of your first row. Move this as you work through your installation to ensure you lay your slabs following a straight line. Mix up enough sharp sand and cement for no more than a few paving slabs at a time to prevent it from setting too soon. Consider using a plasticiser to keep your mix pliable for longer. As a guide, you can use four parts of sharp sand to one part of cement. Either mix in a wheelbarrow or in your cement mixer if you have one. Gradually mix in small amounts of water and occasionally take a small handful of mortar and squeeze it in your hand. It should neither be too sloppy or too dry and you'll know when it's perfect as it will create a small ball in your hand and stick together.
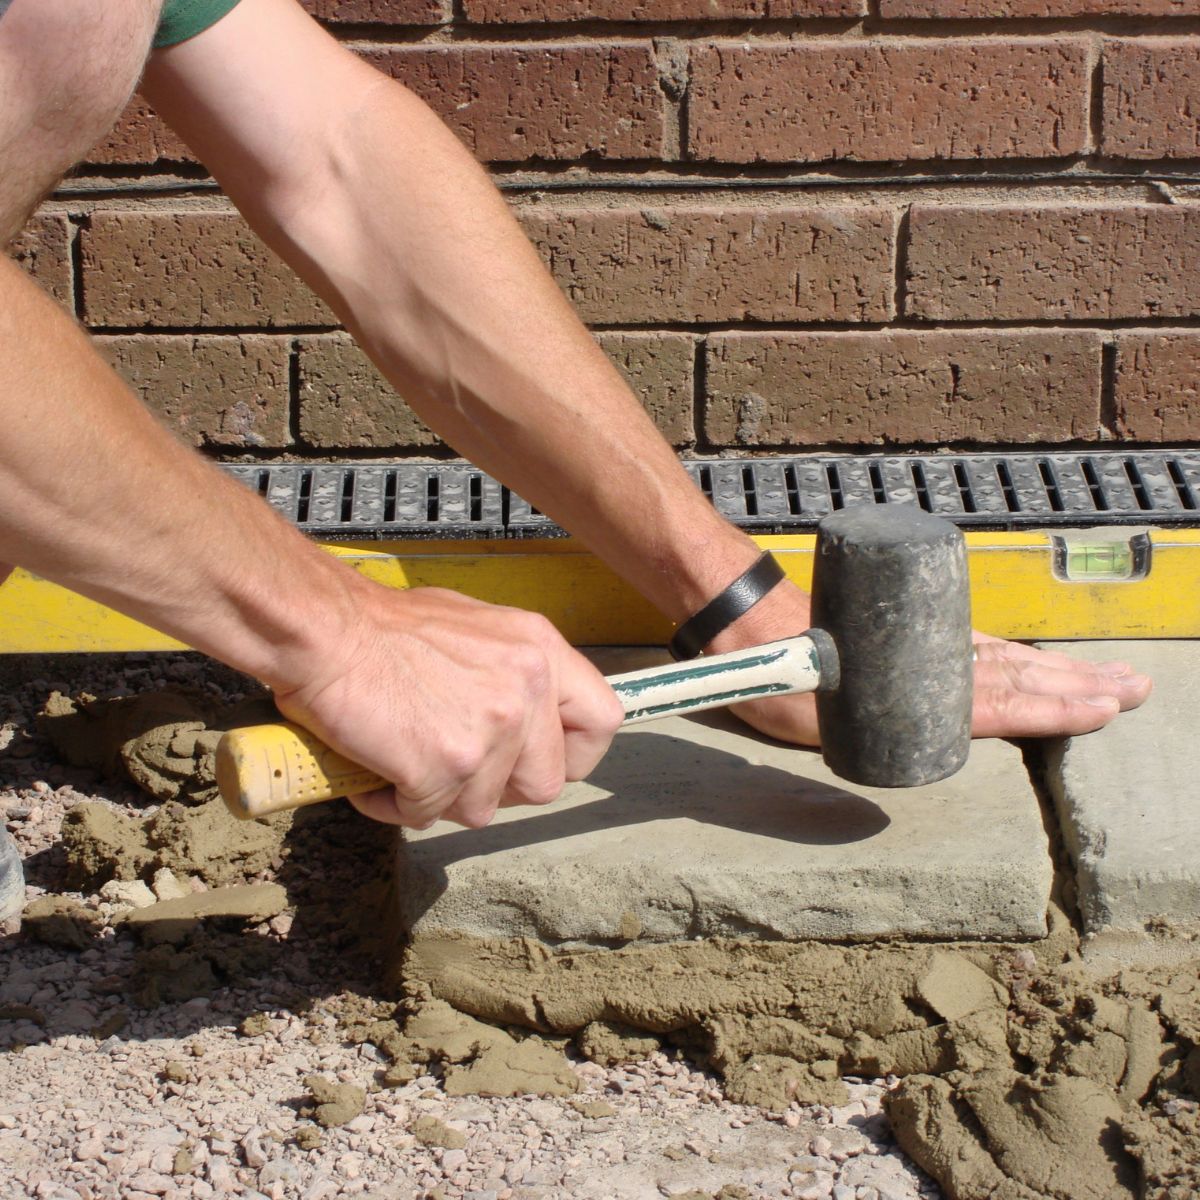
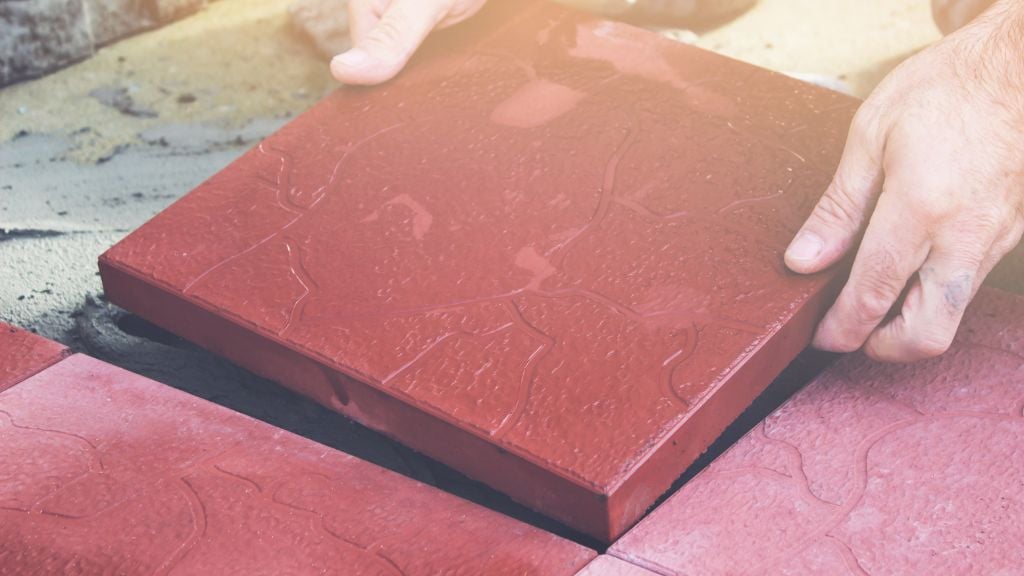
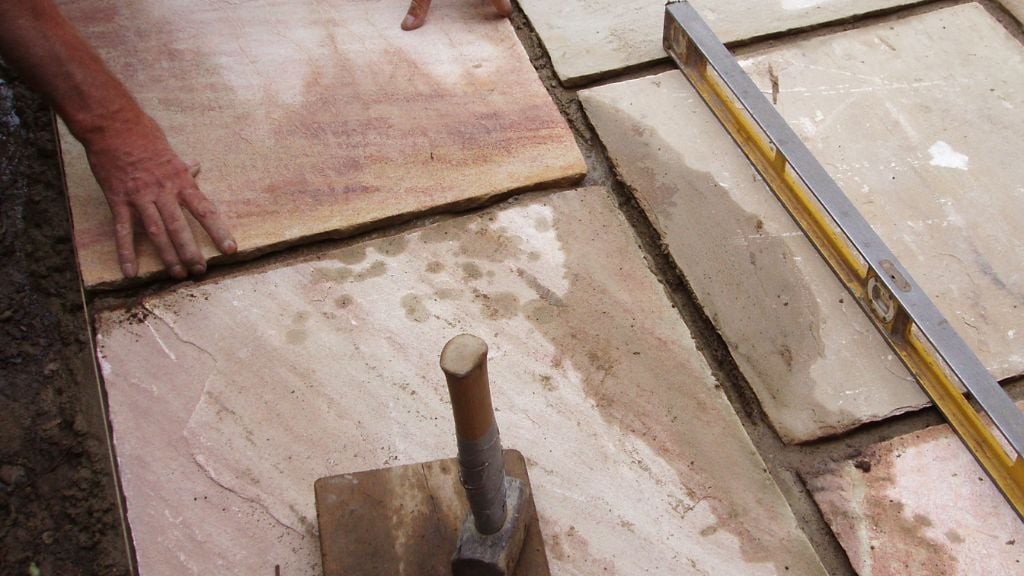
Step 6: Lay the Paving Slabs
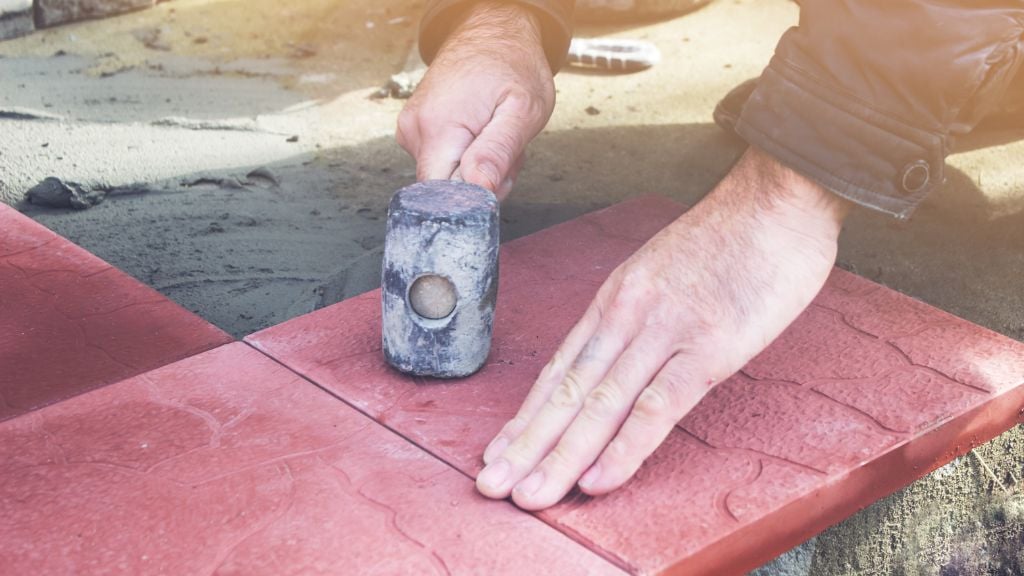
Trowel your mortar into the position where you will place your first slab. Fill the entire area and leave the mortar higher than the required finish depth. Start by placing the first slab in the area and use a rubber mallet to tap it into place, pressing it down into the mortar so there are no voids underneath the stone. Use any surplus mortar that squeezes out the sides in the space for the next slab and as more mortar as required. If you are laying porcelain paving, you will firstly need to paste priming slurry onto the back of the slabs prior to positioning on the mortar as this will aid adhesion. If you are laying natural stone, always mix packs to ensure an even blend of colours. Use your string line to ensure that the first slab is level with the surrounding area and keep an eye on your levels with a spirit level. Repeat this process for the remaining slabs. You will need to leave a gap between the paving slabs that ranges from around 5mm to 15mm depending upon the type of paving you are laying and you should already know this from dry laying a few sample slabs before you started laying the paving in earnest. Ensure you clean up any residue as you go using your stiff bristle brush, and before the mortar dries on the surface of the stone as it's very difficult to remove once dry and many proprietary cleaners designed for brickwork, are not suitable for paving stone and may actually damage or discolour it.
Step 7: Cut the Paving Slabs (if necessary)
If you need to cut any paving slabs to fit into the space, use a diamond-tipped saw or a chisel and hammer to score the slab and then break it along the line. Be sure to wear safety goggles and gloves when cutting the slabs and if using a disc cutter, always use a mask as well as cutting paving slabs this way creates clouds of dust. When cutting porcelain paving, be sure to use a specific porcelain blade and a wet cut as porcelain becomes very hot when cutting and this can cause it to break.
Step 8: Leave to Dry
Finish laying your paving, making sure you do not walk on any newly laid slabs. Leave to dry for around 24-48 hours before accessing the area. If rain is forecast, cover the area to prevent it from becoming wet during this drying period.
Step 9: Fill the Gaps
Once all of the paving slabs are in place, fill the gaps between them with a sharp sand and cement wet mix (we recommend using a three to one mix for this purpose). Trowel into the gaps and use a pointing tool to force into place leaving an attractive smooth groove in the gap. Brush away any excess before it dries. Another popular option is to use a jointing compound which can be used in both wet and dry weather conditions. With this option, wet the area and ensure it remains wet whilst installing. Brush the jointing compound into the gaps with a broom and wash and residual compound from the surface of the stone (this is important as once it dries, it is almost impossible to remove from the surface of the stone). When you are happy with the finish, leave to dry.
Step 10: Seal the Paving Slabs (optional)
If you want to protect your paving slabs from weathering and stains, making it easier to maintain, you can apply a paving sealant. Sealing is not required for porcelain paving as due to the low porosity of this stone, the sealant would mark the surface of the stone. Most good quality sealers are 'impregnator' products which mean they soak into the surface of the stone and fill the tiny microscopic pores within the paving to prevent stains from taking hold. With this type of sealer, apply two coats with the second coat needing to be applied whilst the first coat is still wet. It's recommended to tackle small sections at a time to avoid the first coat drying too quickly. Impreganator sealers offer many years of protection.
Laying paving slabs can be a challenging task, but with the right tools, materials, and techniques, it can be a rewarding project. By following these steps, you can create a beautiful and functional outdoor space that you are proud to have installed yourself!