
How do I install wall cladding?
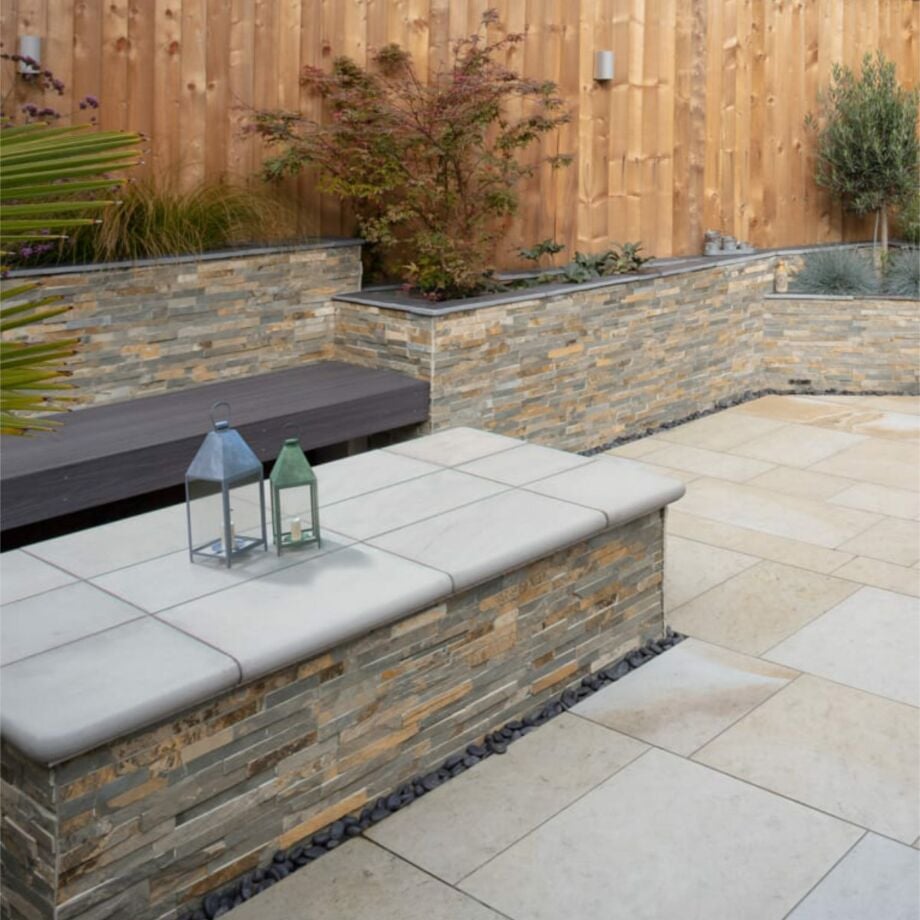
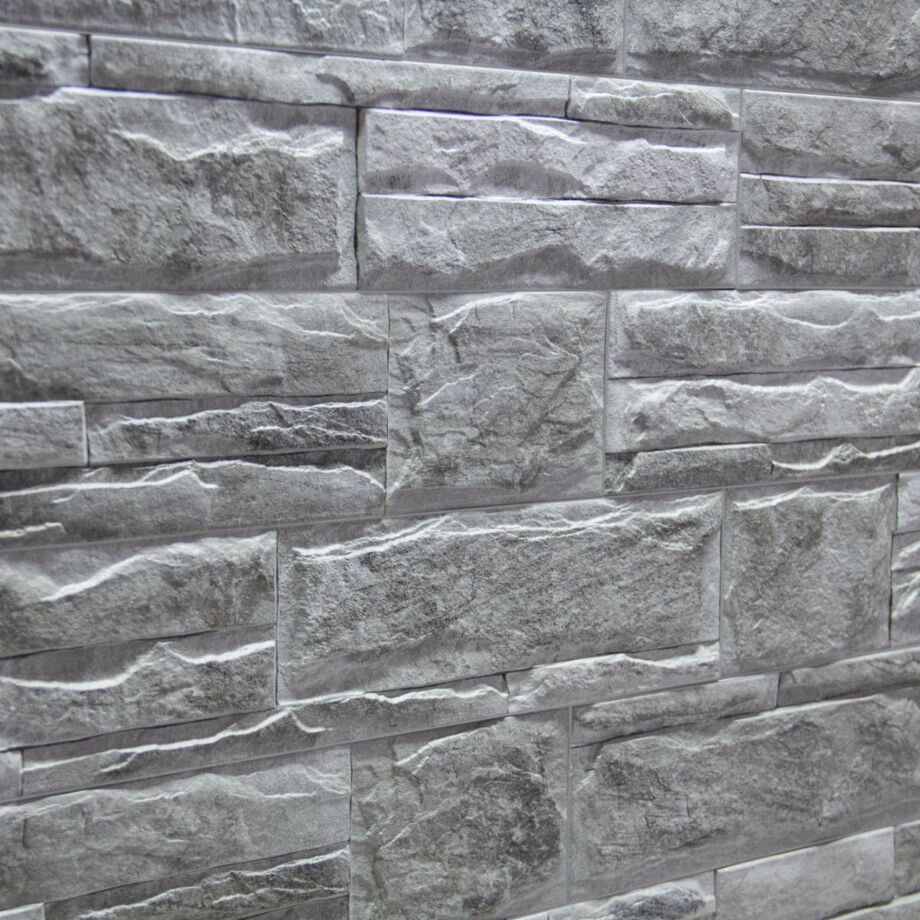
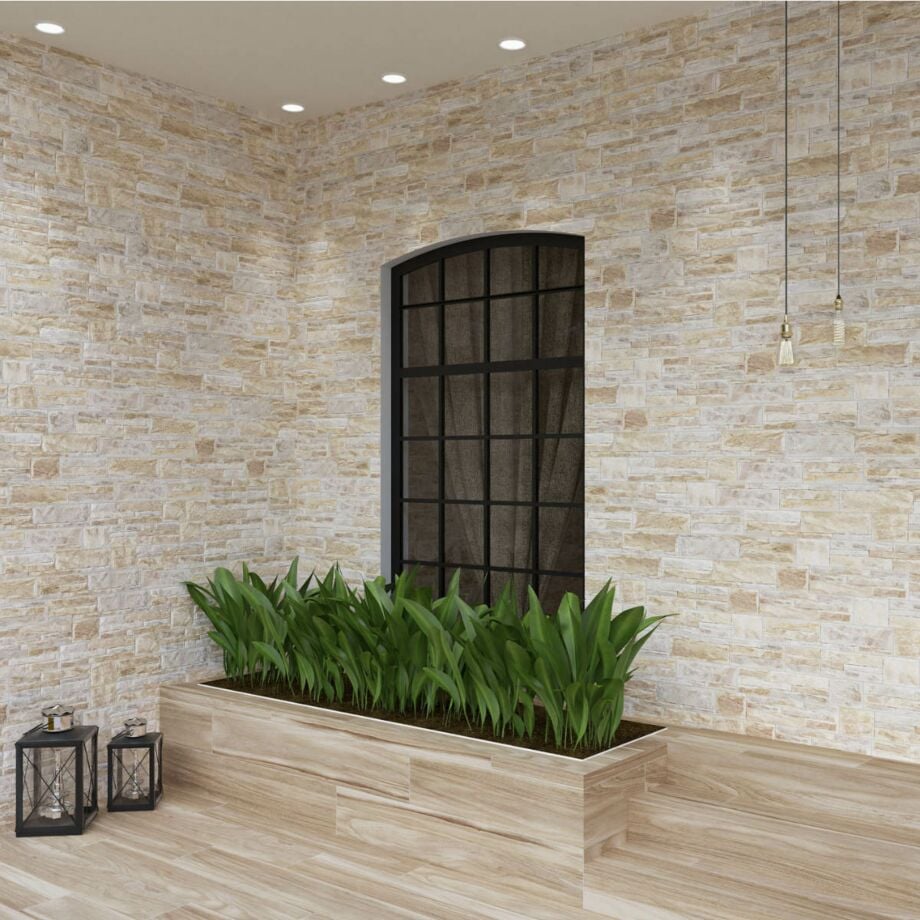
Porcelain and natural stone veneer wall cladding is a popular choice for those who want to add a sleek and modern look to their walls. Porcelain veneers are thin, lightweight tiles made of porcelain that are attached to the wall using an adhesive. They are easy to install and can be cut to fit any size or shape. Here we describe how to use, cut, and install porcelain veneer wall cladding.
Tools and Materials Needed:
- Porcelain or natural stone veneer wall cladding tiles
- Adhesive (recommended adhesive: C2 all weather tile adhesive)
- Notched trowel
- Tile spacers
- Tile cutter or wet saw (with porcelain blade for porcealin and diamond blade for natural stone)
- Level
- Grout
- Grout float
- Sponge
- Bucket of water
- Protective gear (safety glasses, gloves)
Step 1: Measure the Wall
Before you begin, measure the wall to determine how many tiles you will need. It is important to order extra tiles to account for any mistakes or cutting errors. It's usual practice to order around 10% extra.
Step 2: Prepare the Surface
Make sure the wall is clean and dry before you begin. Any dirt, dust, or debris on the surface can affect the adhesive’s performance. If the wall is painted, sand it to create a rough surface for the adhesive to grip.
Step 3: Apply Adhesive
Using a notched trowel, apply a layer of all weather adhesive to the wall. It is important to use a high-quality adhesive to ensure the tiles adhere properly.
Step 4: Place the Tiles
Begin at the bottom of the wall and work your way up. Use tile spacers to ensure the tiles are evenly spaced. Press each tile into the adhesive, making sure it is level and flush with the surrounding tiles. Continue until the wall is covered.
Step 5: Cut the Tiles
Use a tile cutter or wet saw to cut tiles to fit around doorways, windows, and corners. Always wear protective gear, including safety glasses and gloves, when cutting porcelain or natural stone veneer wall cladding tiles.
Step 6: Grout the Tiles
Once the adhesive has dried (usually 24 hours), it’s time to grout the tiles. Mix the grout according to the manufacturer’s instructions and use a grout float to apply it to the tiles. Make sure the grout fills in all the gaps between the tiles. Wipe away any excess grout with a sponge and water and do not allow it to dry on the surface.
Step 7: Finish the Project
Allow the grout to dry for 24 hours, then use a clean, damp sponge to wipe away any haze on the tiles.
With the right tools and materials, you can achieve a professional-looking finish. Remember to take the necessary safety precautions when cutting and handling the tiles, and follow the manufacturer’s instructions for the best results.
 |
 |
 |
